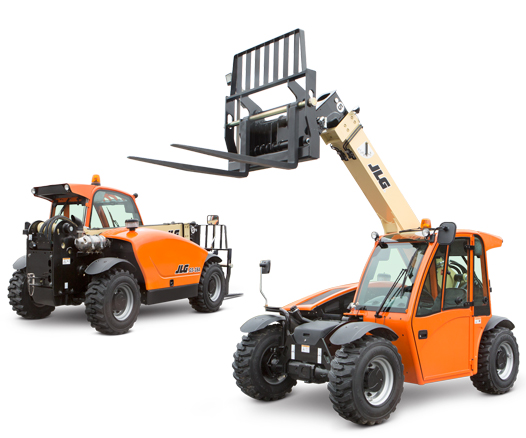
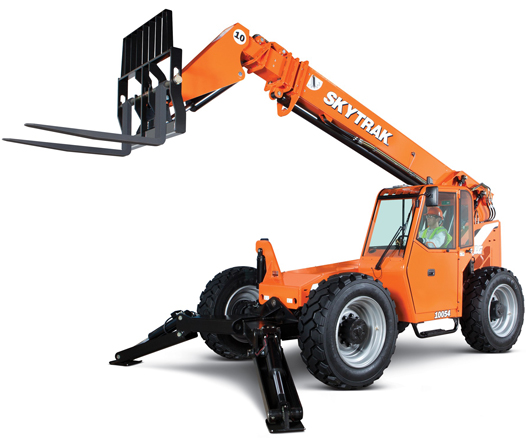
Telehandler Maintenance Tips
The job site workforce is constantly being tasked with becoming more efficient, and the key to achieving that is equipment maintenance. For a telehandler to work as needed, and required, it needs to be in proper working condition. Understanding when and what to check on your telehandler will also reduce unexpected downtime.

Telehandler Maintenance
Tip 1: Be prepared for Maintenance
Regular telehandler maintenance is the cornerstone of maintaining the longevity and peak performance of these machines. By being prepared for maintenance, you not only extend the lifespan of your equipment but also increase safety on job sites. Preventative maintenance involves a range of tasks, from routine inspections and lubrication to addressing wear and tear or hydraulic issues promptly. When you're prepared for maintenance, you reduce the risk of unexpected breakdowns, which can lead to costly downtime. A well-maintained telehandler operates at a better performance level, saving you time and resources in the long run.
Tip 2: Complete All Maintenance Tasks
After the engine has cooled down and the telehandler is level, check the lubricant levels. Before lubricating, cleaning the lubrication fittings. After the fittings have been greased, cycling through the functions several times to help distribute the lubricants. A light coating of engine oil needs to be applied to all of the linkage pivot points.
To check the hydraulic oil level, look at the sight gauge to make sure the oil level is visible in the gauge windows. If it’s not, remove the fill cap and add hydraulic fluid until the oil is up to the center of the gauge and replace the cap.
The brake fluid needs to be between the maximum and minimum marks on the brake reservoir. If the fluid is low, the telehandler will need to be serviced before it begins operations again.
For the engine coolant level, open the engine cover and check the surge tank, the coolant should be between the “FULL” and “ADD” marks. If it’s not, add engine coolant and the windshield washer fluid should be visible in the reservoir.
Make sure to look at the fuel and diesel emission fluid (DEF) gauges on the right side of the cab’s instrument panel, and fill the tanks as needed. To check the engine oil level, open the engine and check the oil mark on the dipstick (just like a motor vehicle).
For the Load Stability Indicator (LSI), remove any attachment and retract and raise the boom, press and hold the LSI override switch and the 2 control buttons. The LSI indicator LEDs will light up sequentially and then repeat if successful.
When the air intake system needs to be checked, open the engine cover and remove any dust from the vacuator valve by squeezing the bottom of the valve, once finished, close the engine cover.
For the telehandler models with cab air filters, remove the 2 thumb screws from the panel to take out and inspect the filter, if it’s damaged, it needs to be replaced.
To maintain tire air pressure, remove the valve stem cap and check the pressure, add air if needed and then replace the cap. Damaged tires will need to be replaced.
If any of these maintenance tests aren’t successful, or if the system isn’t working as required, the telehandler needs to be removed from service and repaired before operations start again.
Tip 3: Know When Maintenance is Required
Following a maintenance schedule allows you to keep the telehandler in proper working order before there is a failure or issue. Here’s the list of when to check and/or change each component:
Every 10 Hours: Fuel, tire condition/pressure, engine coolant level, engine oil level, hydraulic oil level, drain fuel/water separator, brake fluid level, DEF level (for Ultra Low Sulphur Diesel – ULS – fuel), air cleaner and additional checks
First 50 Hours: Wheel lug nut torque, axle oil level, wheel end oil level, hydraulic tank breather, hydraulic filters
Every 50 Hours: Lubrication schedule, washer fluid, LSI system, cab filter
First 250 Hours: Axle oil, wheel end oil, dual pump drive oil, drop box oil
Every 250 Hours: Lubrication schedule, axle oil level, wheel end oil level, drop box oil, dual pump drive oil, boom wear pads
First 500 Hours: Engine oil and filter (for ULS)
Every 500 Hours: Hydraulic tank breather, hydraulic filters, wheel lug nut torque, engine oil and filter (for ULS)
Every 1,000 Hours: Axle oil, wheel end oil, air intake system, fuel filters, battery, engine oil and filter (for ULS), dual pump drive oil, drop box oil, park brake, LSI calibration, fan belt
Every 1,500 Hours: Hydraulic fluid and filters
Every 2,000 Hours: DEF tank filter (for ULS), engine coolant strainer (for ULS), crank-case vent filter
Every 4,000 Hours: DEF pump filter (for ULS)
Every 5,000 Hours: Engine valve lash adjustment
These intervals are for normal conditions and usage. There might also be additional checks needed depending on your machine’s daily usage or configuration, so reference the machine’s Operation and Safety Manual.
Tip 4: Educate Operators on Telehandler Maintenance
Maintenance needs to become a regular part of your team’s schedule if it isn’t already. That includes providing the proper education and training on how to perform maintenance tasks. If your staff requires training on telehandlers, we provided Training Programs for companies throughout Southern California.
About All Access Services
Serving construction projects throughout Southern California with heavy equipment rentals, we have 3 locations in San Diego, Orange County, and Riverside to serve our clients. Each location carries a fleet of scissor lifts, telehandlers, boom lifts, and forklifts available for rent at affordable rates. We strive to provide the best customer service in the industry and hope to earn your trust and business!
All Access Telehandlers
Serving ALL of Southern California!